
![]()
We’re excited to announce Hopsie’s Paypal Integration is now available to all customers (at no extra charge). We strongly believe in the importance of payment options on our donation forms, and we’re excited to extend Paypal via Express Checkout to our customers. Starting today, all customers can accept PayPal donations on their Hopsie donation forms.
How Express Checkout Works
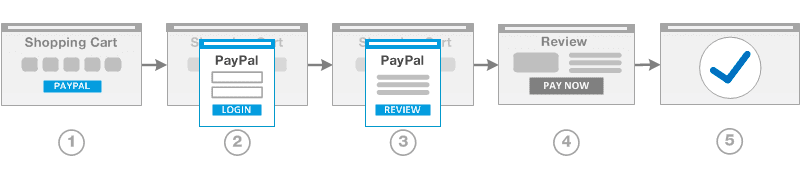
The key component to Express Checkout compared to historical PayPal integrations is that you have more control over the donation workflow and can keep your donor on your website rather than sending them to an external PayPal site. The suggested workflow is illustrated in the graphic below provided by Paypal.
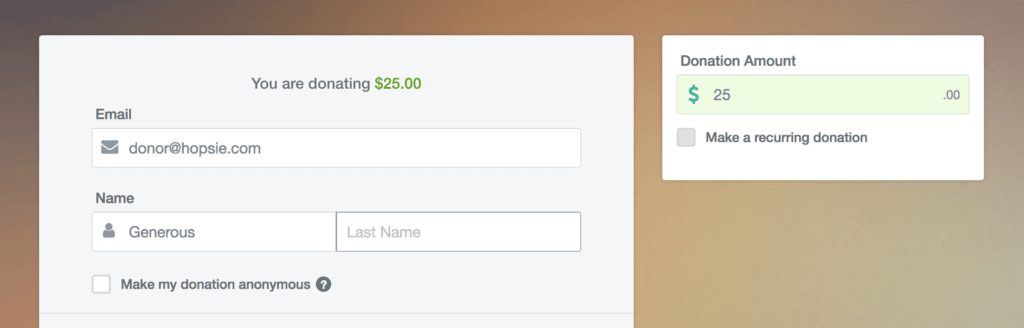
Step 1: The donor fills out the donation form
Just like any other donation, a donor enters their donation amount and interval then fills out the fields you’ve set up on your form.
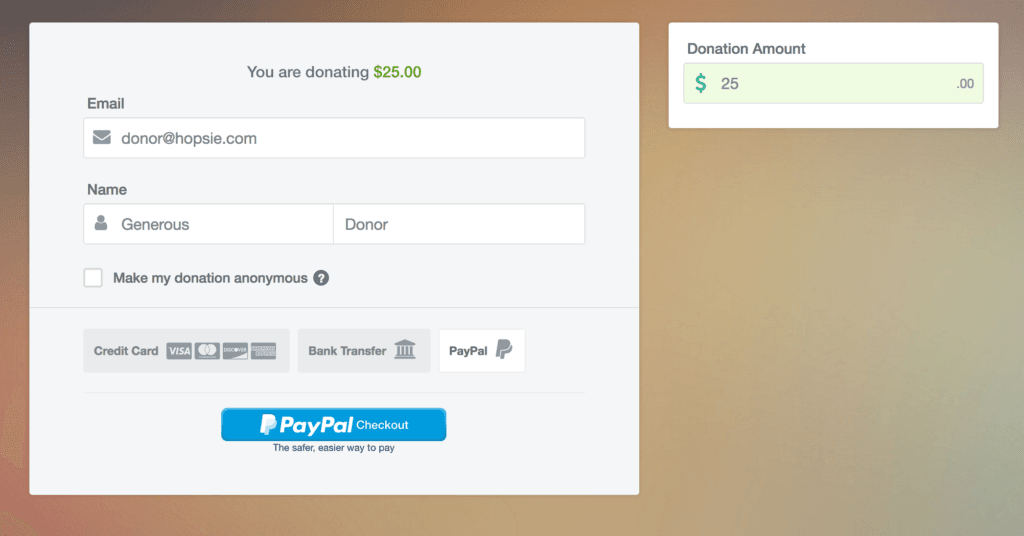
Step 2: The donor selects PayPal as the payment option
Once the donor has entered their information into all required fields on the form, they then select the PayPal tab in the payment section of the donation form. This will toggle the donation form from Credit Card to PayPal and show the Express Checkout button.
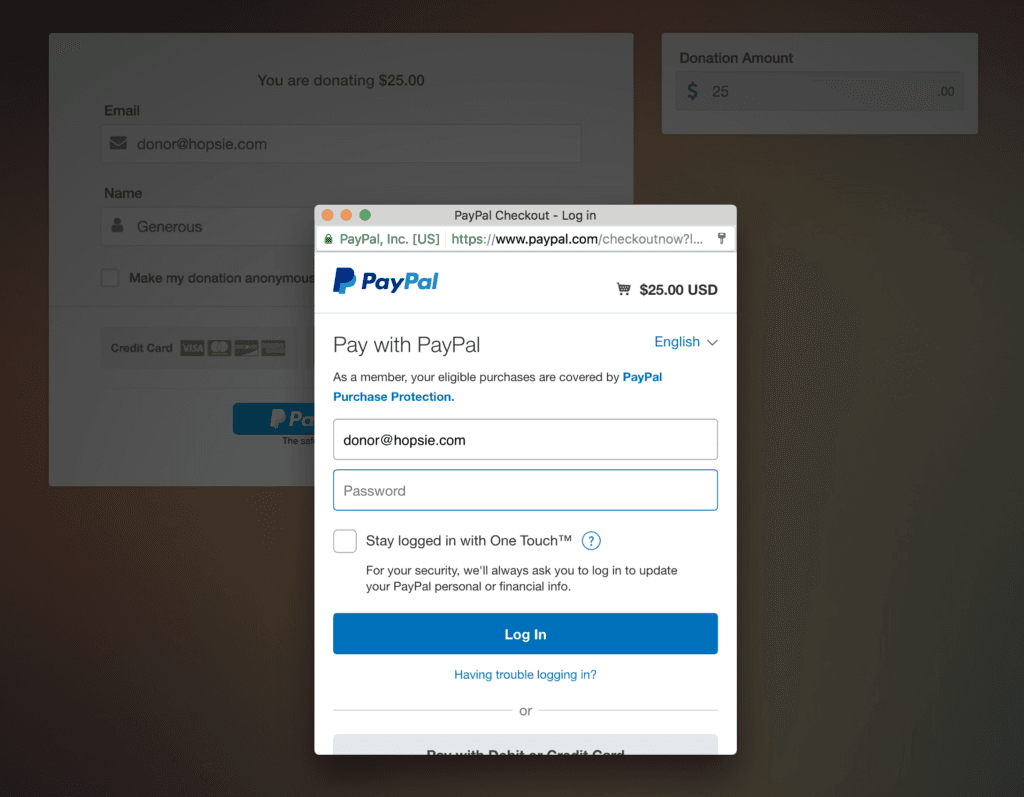
Step 3: The donor pushes the Express Checkout button to start the process
As soon as the donor is ready to complete their donation, they click the Express Checkout button which will open up the PayPal pop up. The pop up allows us to keep the donor on the Donor Site but opens a gateway to PayPal that will securely handle the payment. The donor is given the option to login to an existing PayPal account, create a new account, or pay via a credit or debit card through PayPal.
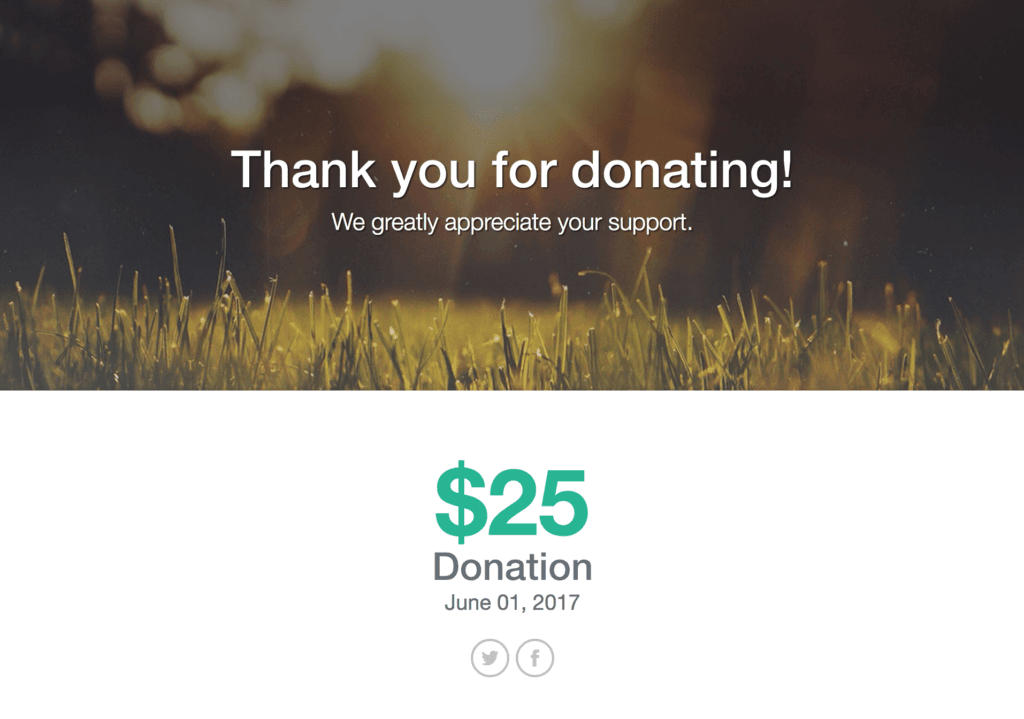
Step 4: The donor completes the donation and is redirected to your thank you page
Just like any other donation, as soon as the donation is successfully processed through PayPal, the pop up will disappear and the donor will be redirected to your Hopsie thank you page. Any emails you have set up to be delivered after a successful donation will go out and data will be stored in the Hopsie Admin.
Setting Up PayPal with your Hopsie Account
We’ve done everything possible to minimize the steps required to connect your Hopsie account with your PayPal account and are happy to help you with this process if you’d prefer to work directly with us. If you get stuck or find the steps below confusing, please send us an email at support@hopsie.com and a team member will reach out to help.
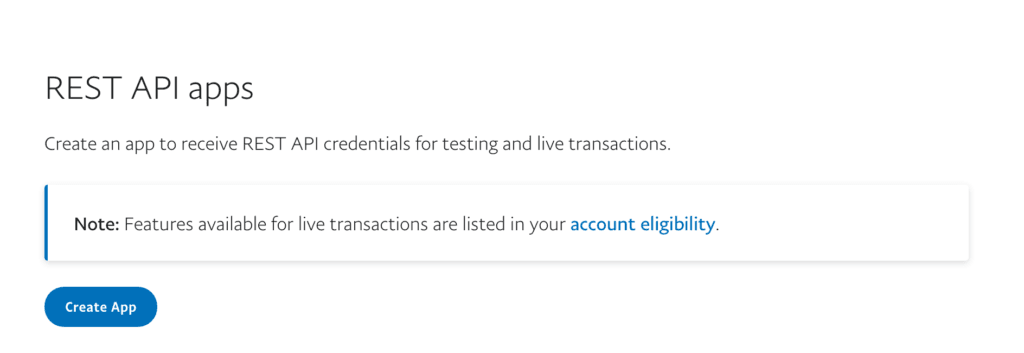
Step 1: Register Your App with PayPal
The first step is to register an API Application with Paypal. To do so, first login to the PayPal Developer Account using your normal PayPal credentials. Once signed in, underneath “My Apps & Credentials“, scroll down to the section titled “REST API apps” and click on “Create App”.
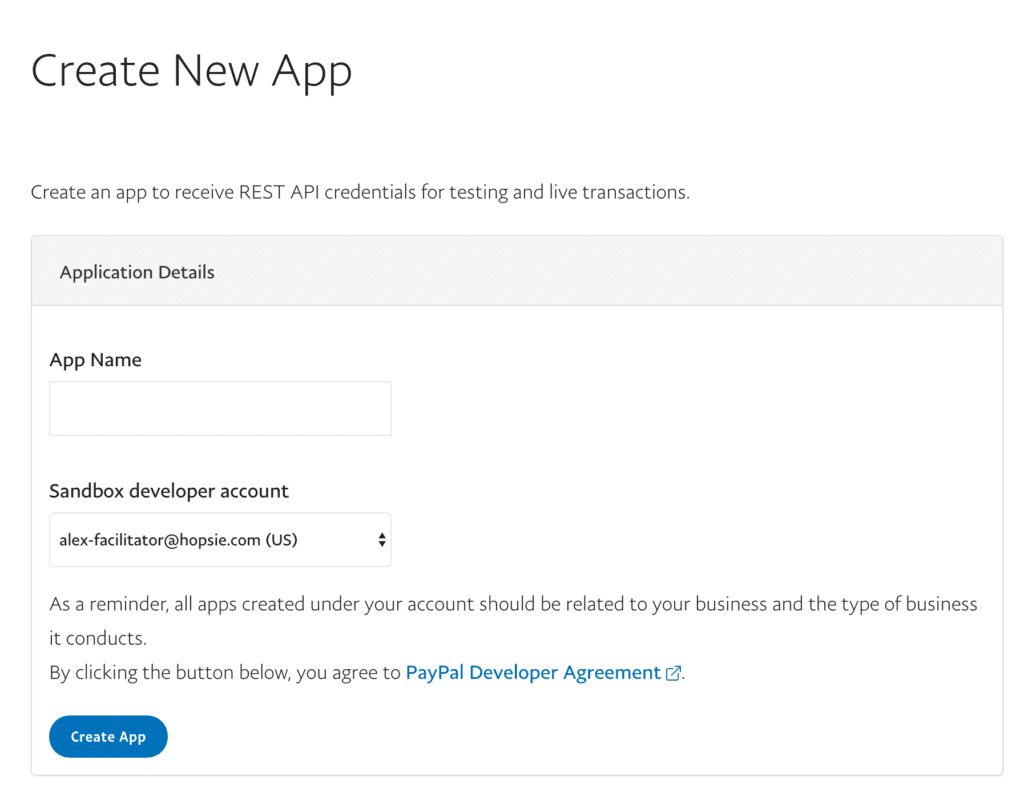
Step 2: Complete the App Creation
After clicking the “Create App” button, you’ll be redirected to a page where you will enter an App Name and select a Sandbox developer account. The App Name should simply be “[Your Nonprofit Name] Donation Form”. This is only used for internal reference and will not be shown to your donors. Select the first option (usually the only option) from the Sandbox developer account dropdown and click Create App.
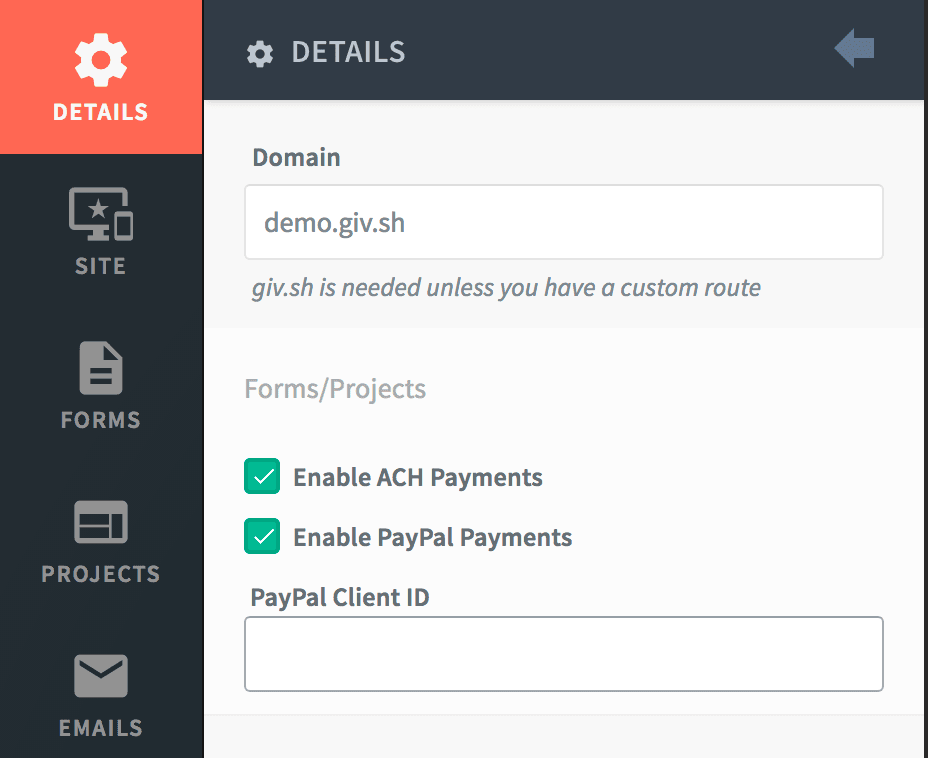
Step 3: Add the Client ID to your Hopsie Admin
After you click “Create App,” this should take you to the confirmation page for your new API application. In the top righthand corner you will see a toggle to jump between “Sandbox” and “Live.” Select “Live” and then copy the value that you see below under “Client ID.” Next, log in to your Hopsie Account and click on “Editor” in the top righthand corner. On the Details tab of the Editor you will see a checkbox to “Enable Paypal” and a field where you will paste in the Client ID.
Step 4: Start accepting PayPal Donations!
That’s it! You’re ready to accept PayPal donations on your donation form.
Still need help?
Our support team is standing by. Send us a message on LiveChat or send us an email.